Three simple steps for teaching the alphabet in English
A great memorisation technique for students learning the alphabet is using a chart that organizes the letters according to their sound. The reason why it works really well is the fact students can create mental associations for the sounds and also have a chance of correcting themselves based on the chart, rather than based on the teacher providing the answers. If they forget something or get confused, they have a whole list of similar letters to help them discover the correct answer independently.
Here's how to use it:
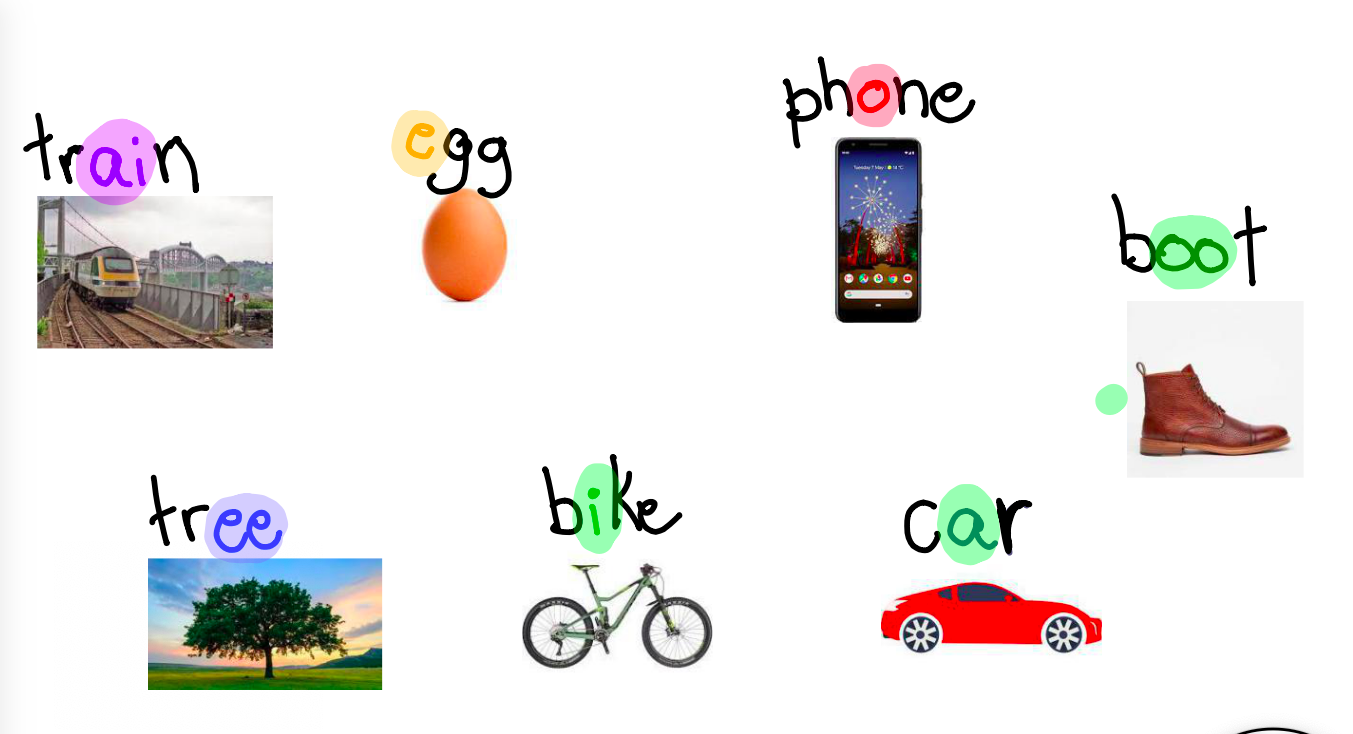
Step 1. Provide examples for the sounds
Below are some examples of words that have the sounds we are working on. They all feature sounds to be presented before practicing the alphabet. You can do a dictation with these words and let them spell them the way they want, and then show them the correct way at feedback. The key point at this stage is to make sure students are pronouncing them correctly by the end of this task.
Step 2. This blank sheet should be filled out while students listen to the letters being spelled out. Play the recording or speak without stopping at least once.

Source: New English File Beginner
It should look like this when it’s ready. :
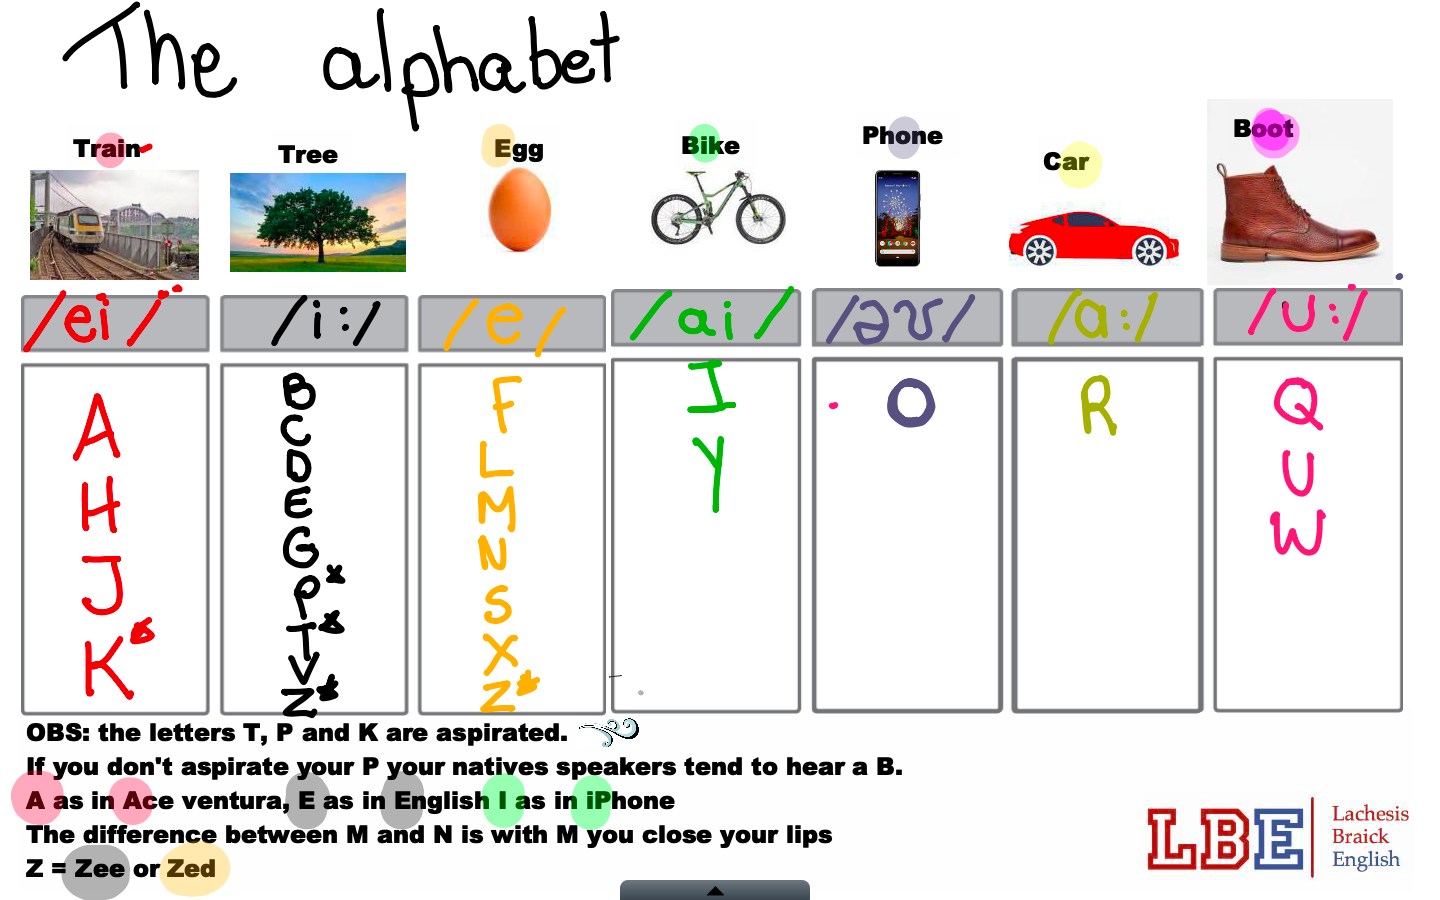
I tend to mention aspiration and variations for Z an H sounds here. Also, you can work on difficult pairs, such as M vs N, E vs A vs I, K vs Q.
Step 3. After clarification, you can have your students try their hand spelling FAMILIAR words using the chart as a reference to how to pronounce each letter. You may ask questions about their email, last name, address, flight information on a boarding card, their hometown… The key point here is it needs to be practical and simulate real life situations.
Here’s a class snippet:


